Loading experience...
High-Velocity Engineeringfor Real Products
HiVE Coding = Human Engineers + Agentic AI

AI-Driven Engineers Who Still Care About The Code
We ship production software with HiVE Coding—High-Velocity Engineering. Humans in command, agents accelerating planning, build, and QA.
What Is HiVE Coding?
"High-Velocity Engineering: human developers + agentic AI to ship in weeks—not months."
Vibe Coding
Rapid Experiments
Natural-language prompts to code. Fast for demos but brittle in production.
Traditional
Manual Engineering
Full control over architecture. Battle-tested but slow and expensive.
HiVE Coding
AI + Human Engineers
Production-grade quality at 5x speed. Humans own architecture, AI handles repetitive work.
Engineering Excellence
Every great partnership starts with a shared vision. Here's how we turn yours into reality.
HiVE Coding & Agent Factory
Humans in command. Specialized agents accelerate planning, build, and QA — safely.
Powered by AI Agents
Case Studies

MapMetrics
Traditional navigation apps provide routes but offer no incentive for users to contribute data or remain engaged. MapMetrics needed a platform that rewards users for their driving data while providing accurate navigation.
Explore More
Eshaafi
Patients in remote areas struggled to access quality healthcare, while doctors had no unified platform to manage virtual consultations and patient records.
Explore More
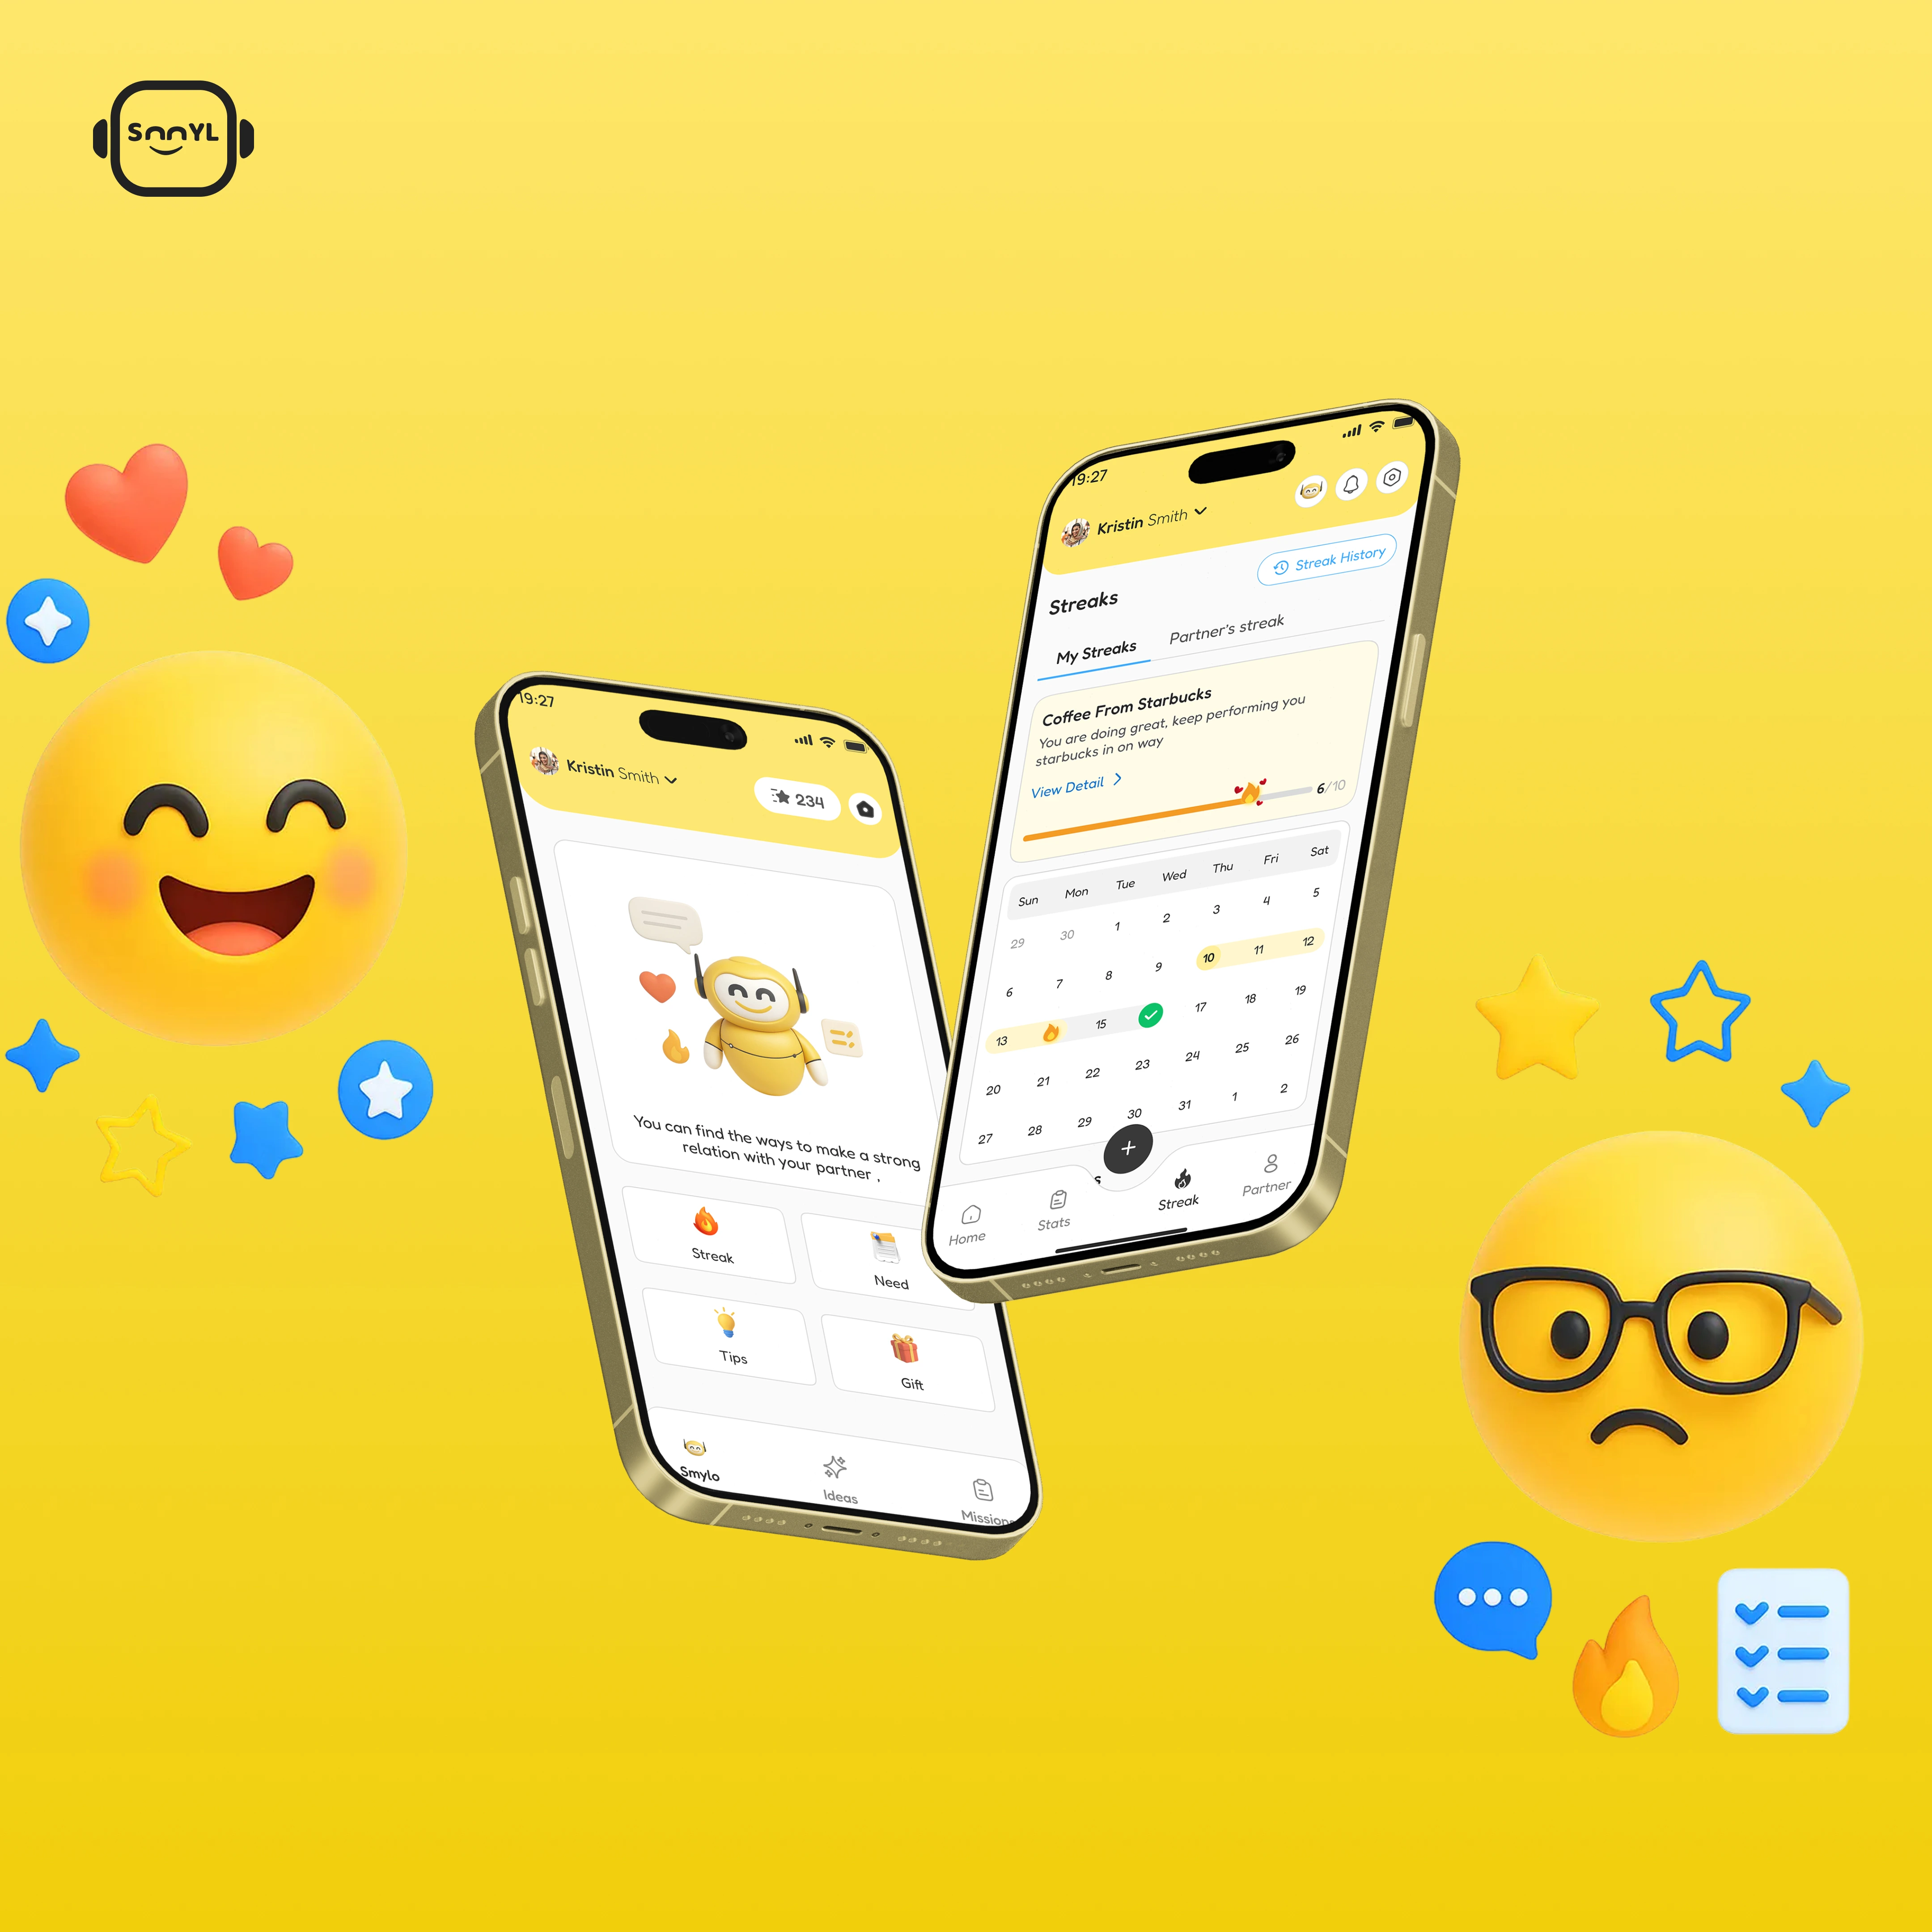
Smyl
Growing stress and anxiety in modern life, with limited access to affordable mental wellness tools and personalized support.
Explore More
Atlas Map
Enterprises needed advanced mapping and location services with custom data layers, but existing solutions were either too expensive or lacked necessary features.
Explore MoreWhat Our Clients Say
Don't just take our word for it — hear from the founders and teams we've partnered with.
“We were impressed with their ability to adapt to our changing requirements.”
Gavin Browett
Executive, ESpire Technology Ltd

FAQ's
AI-assisted engineering with humans in control and quality gates. We use AI agents for repetitive tasks—scaffolds, CRUD, tests, docs, infra setup—while engineers handle architecture, code reviews, security, and QA sign-off.
Ready to Build
Something Amazing?
Let's transform your vision into reality with our HiVE methodology. Fast delivery. Production quality. Human oversight.
Usually respond within 24 hours